
第3回目の今回は、 AI映画制作に欠かすことのできない、画像生成AIについて説明していきましょう。
Midjourneyの概要と特徴
Midjourneyは、他の画像生成AIに比べて、クリエイティブで芸術性の高い画像を生成することができます。人物・モノなどの被写体から背景にいたるまで、まるで映画のワンシーンのような美しさと迫力があります。
さらに、Midjourneyでは撮影における条件もシミュレートすることが可能です。カメラやレンズ、フィルムの種類をはじめ、絞リやシャッタースピードなどを指定して、まるで実際のカメラで撮影したような画像を生み出せるのです。
また、照明効果やカラーグレーティングを指定することで、様々なシーン、スタイルの映像表現が可能になります。
また、Midjourneyではアスペクト比を自由に変更できるのも大きな特徴。映画のようなワイドな画像から、SNS投稿に適した縦長の画像まで、様々なサイズの画像を生成できます。
Midjourneyの始め方
「Discord」のアカウントを作成
Midjourneyは、「Discord」というチャットツールを通じて利用します。導入にはDiscordアカウントが必要になります。
1. まずは、「Discord」サイトにアクセスします。
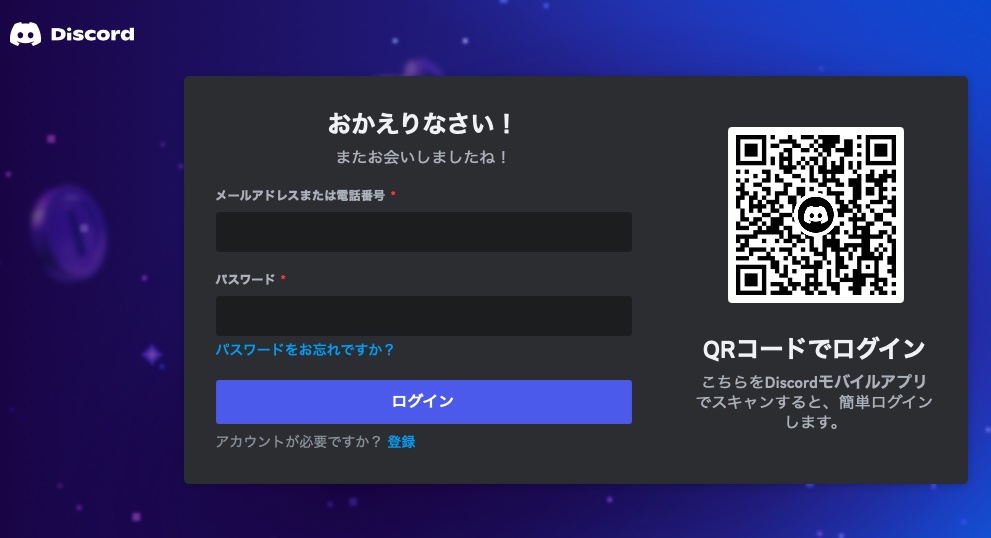
2. アカウントを作成します。
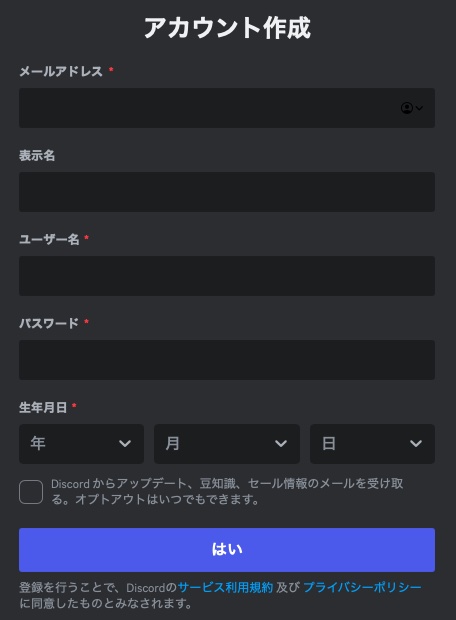
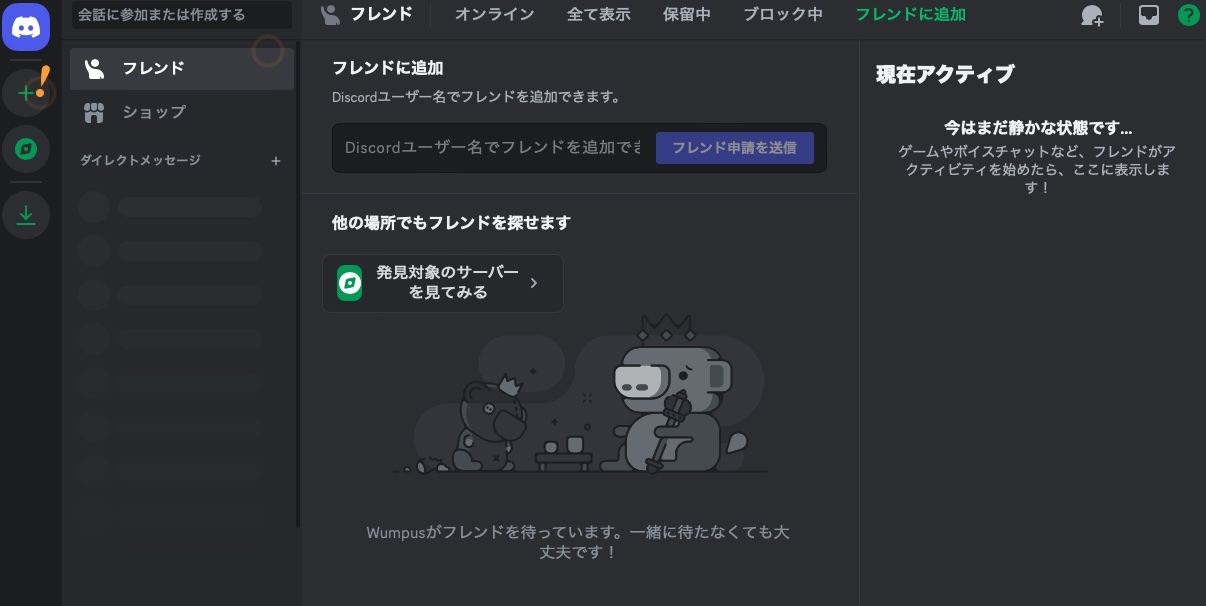
3. これで「Discord」が使えるようになりました。
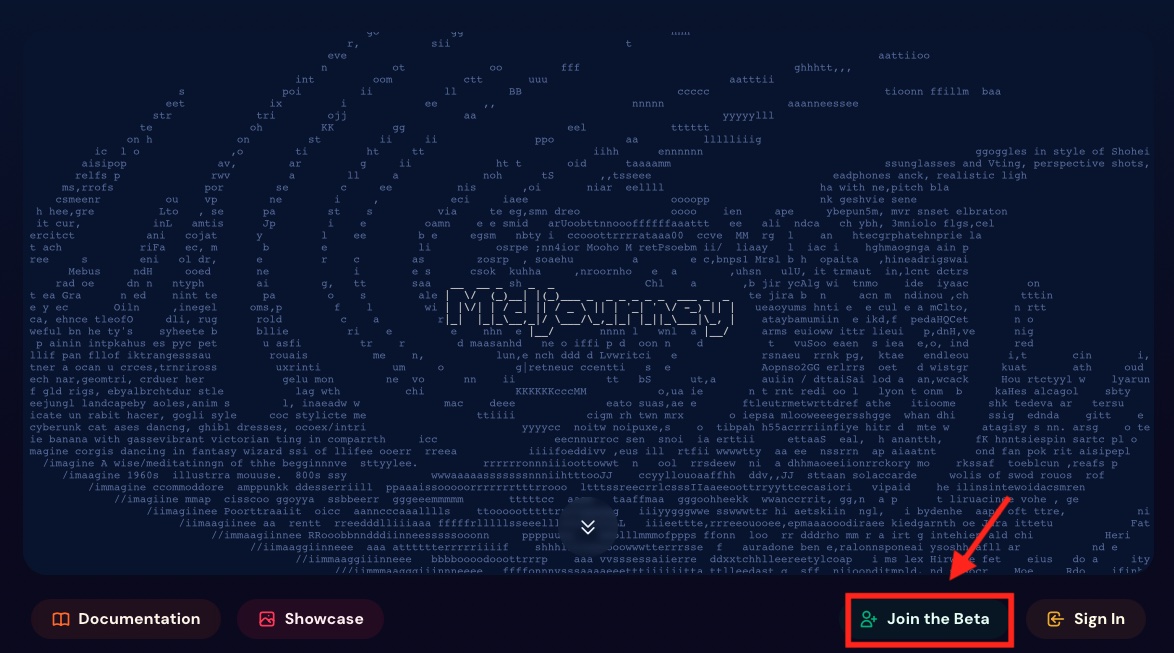
4. 次に、「Midjourney」サイトにアクセスし、「Join the Beta」をクリックします。
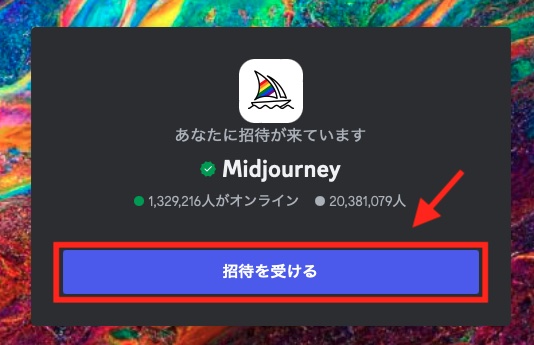
5. 「招待を受ける」をクリックします。
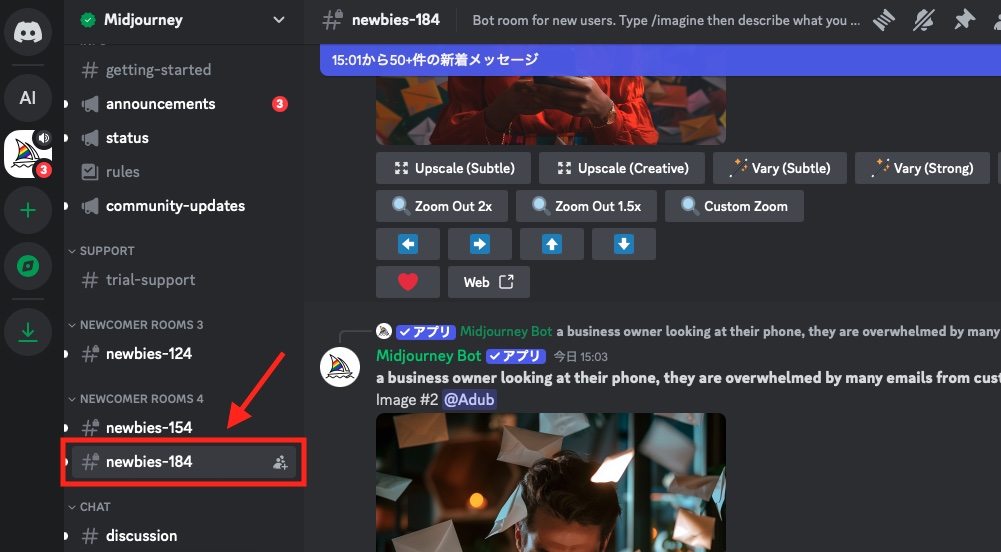
6. 左側に並んでいるサイドバーを下の方へスクロールして、「newbies-○○○」のいずれかをクリックします。
今回は「newbies-184」を選択。
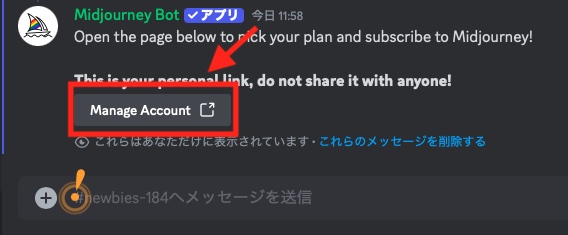
7. 「Manage Account」をクリックします。
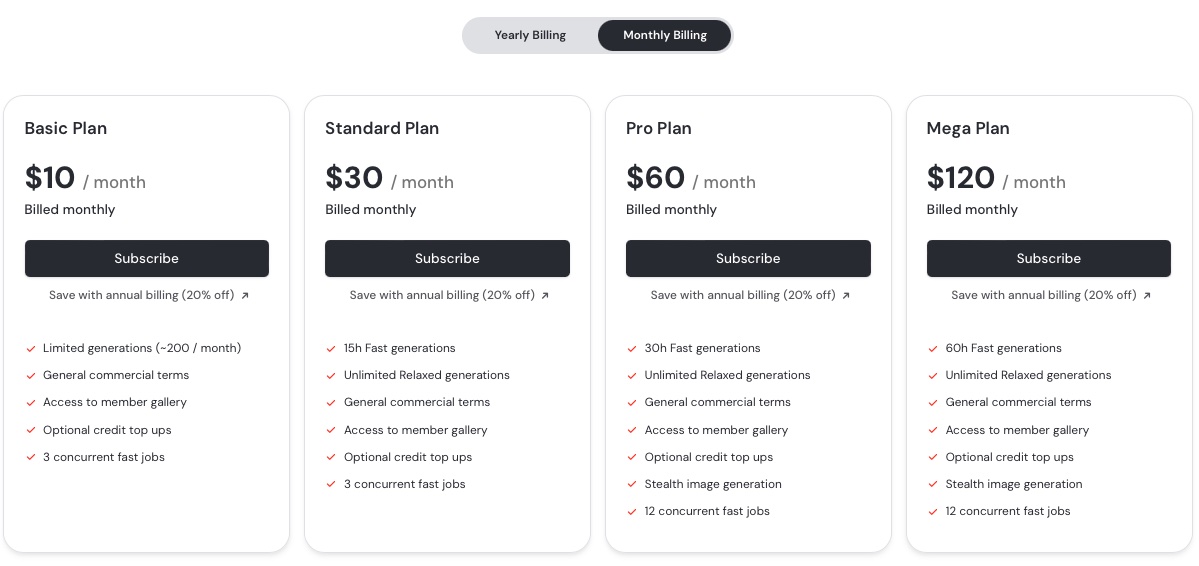
8. 「Midjourney」は現在、無料では利用できず有料プランへの加入が必要です。
料金プランは複数用意されていますが、月額10ドルのプランでも十分でしょう。
いずれかのコースを選択し、クレジットカードの情報等を登録します。
これで「Midjourney」を利用する準備が整いました。
画像生成用のサーバーを作成
一般の「newbies-○○○」チャンネルでは、自分が生成した画像が流れていってしまい、探すのが大変です。よって、画像生成作業には自分専用のサーバーを作るのがおすすめ。
そこにMidjourneyのボットを招待すれば、他のユーザーの投稿に邪魔されることなく画像を生成できます。
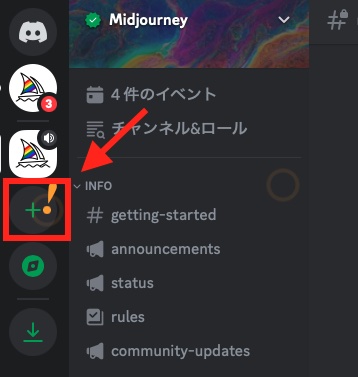
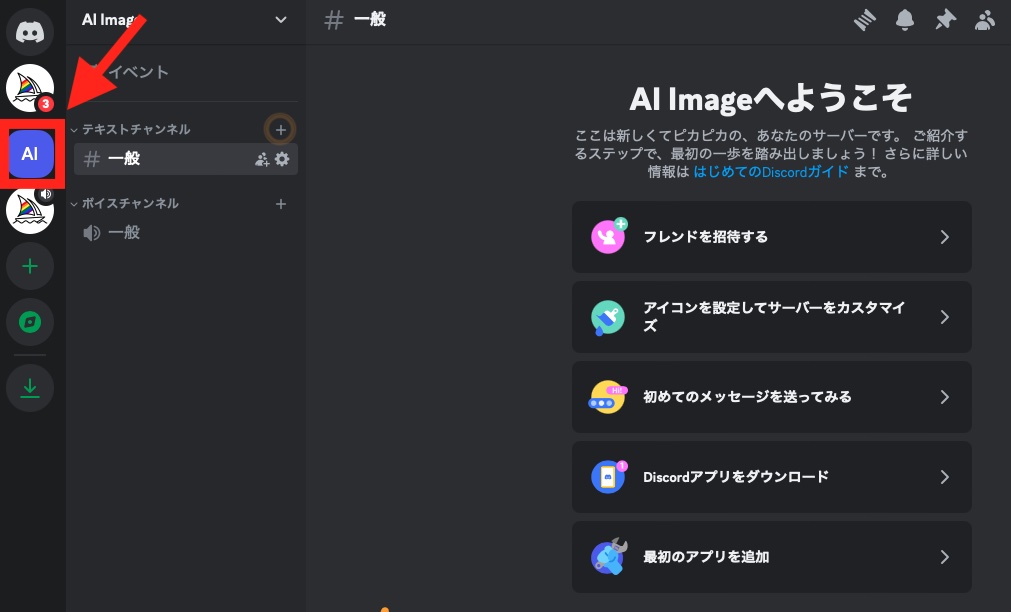
9. 「画面左側の「+」をクリックします。
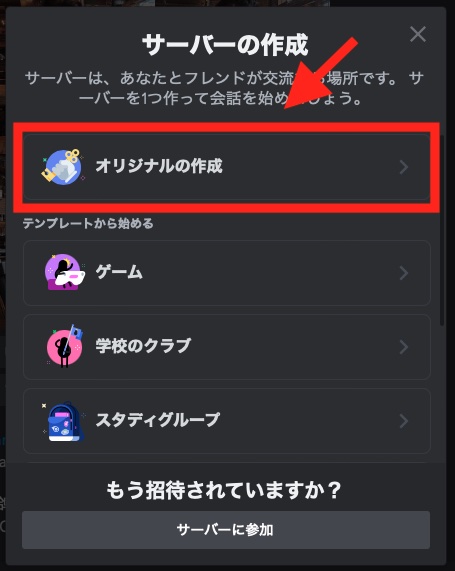
10. 「オリジナルの作成」をクリック
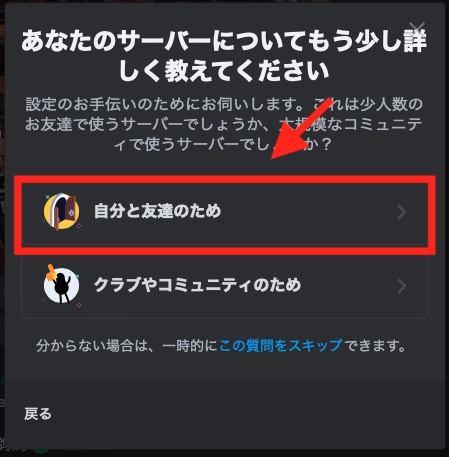
11. 「自分と友達のため」をクリック
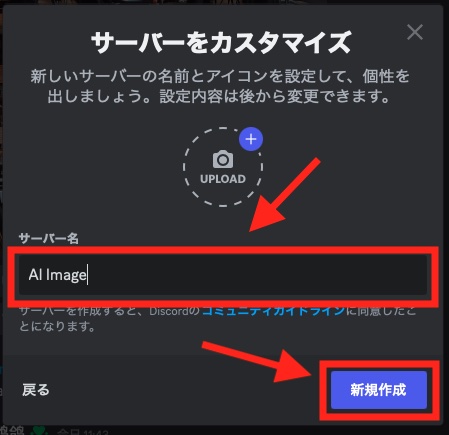
12. サーバー名を決めて入力します。ここでは「AI Image」としておきます。
13 . すると画面左側にサーバーが出来ています。
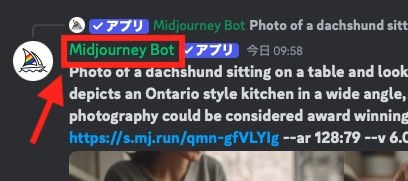
14. 「Midjourney」のチャンネルに戻ります。
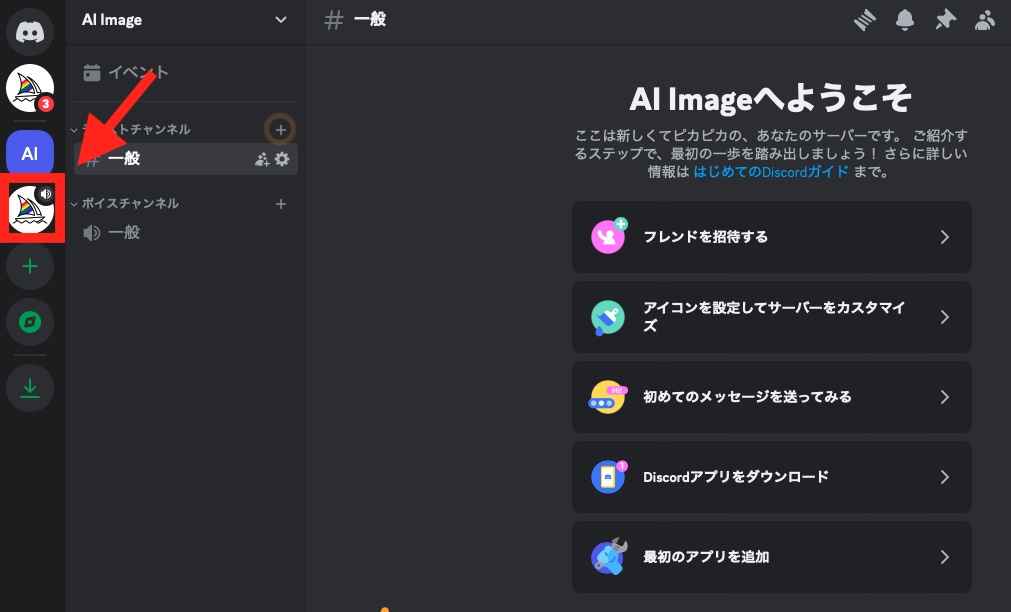
15 . 「newbies-○○○」のいずれかを選択し、「Midjouorney Bot」をクリックします。
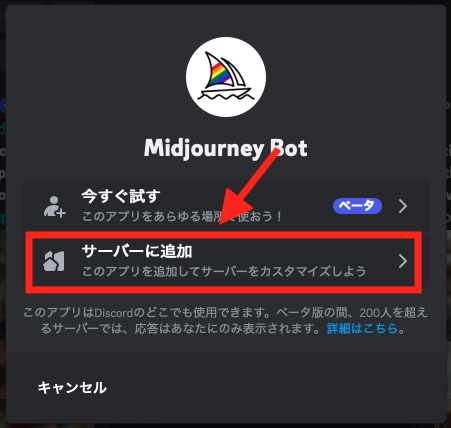
16 . 「アプリを追加」とクリック。
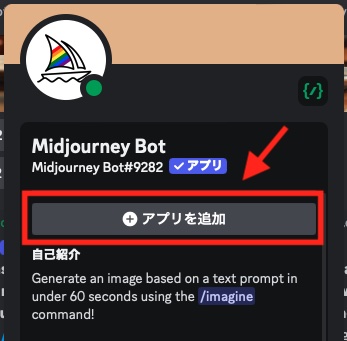
17. 「サーバーに追加」をクリック。
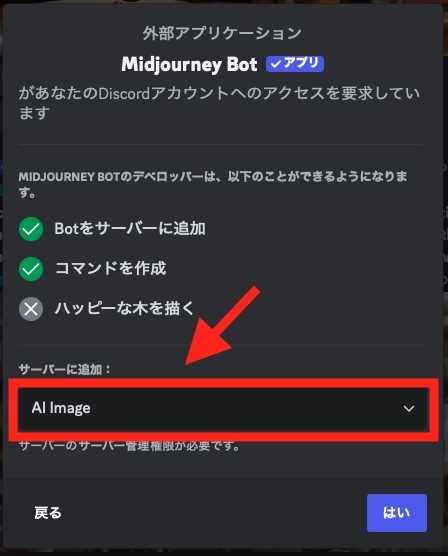
18. 先ほど作ったサーバー名を選択します。
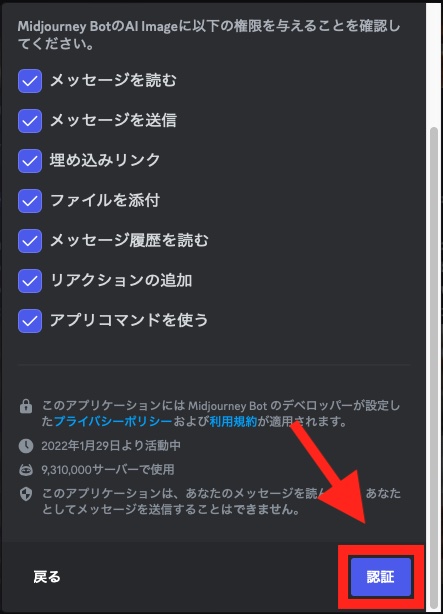
19. 「認証」をクリック。
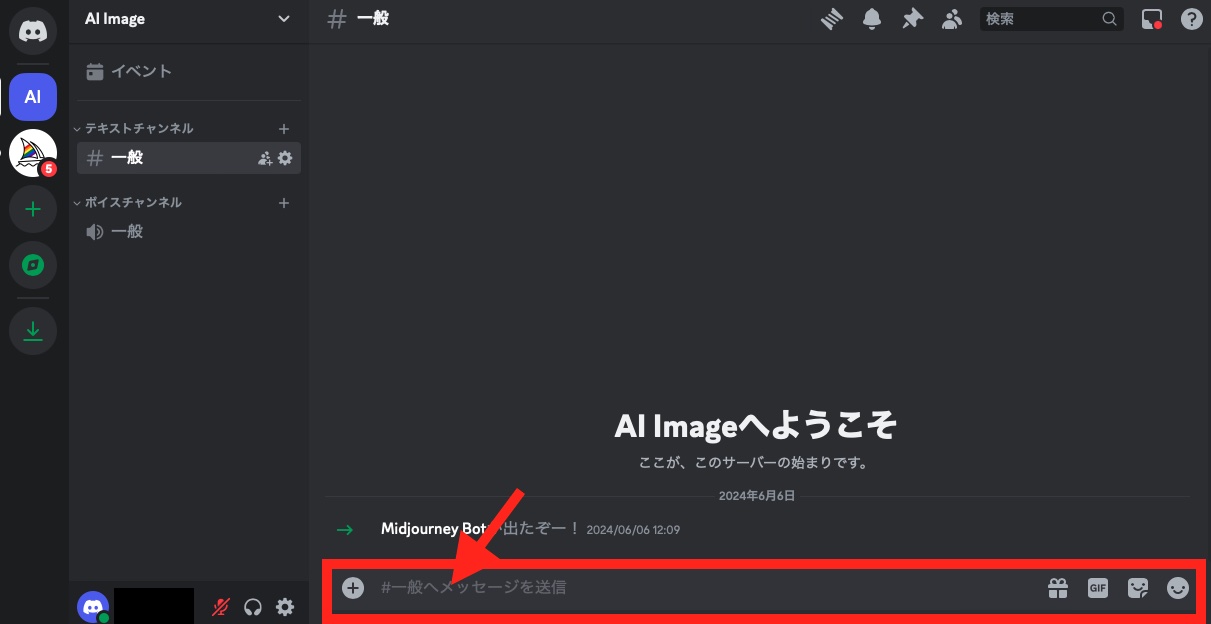
20. このような表示が出れば、準備完了です!

画像を生成してみる
さて、いよいよ画像生成です。
画面下のプロンプト入力欄に「/imagine」と入力するのですが、
「/i」くらいまで入力すると候補が表示されますので、選択します。
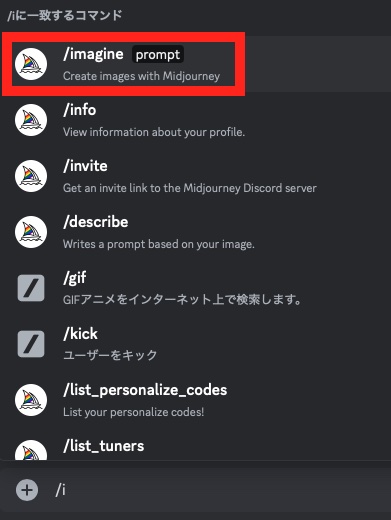
これでプロンプトが入力できるようになりました。

続けて生成したい画像の内容を英語で書きます。例えば以下のようなプロンプトです。
A giant eyeball in the middle of a desert, like a scene from a surrealist movie日本語訳:シュールレアリスムの映画のワンシーンのような、砂漠の真ん中にある巨大な目玉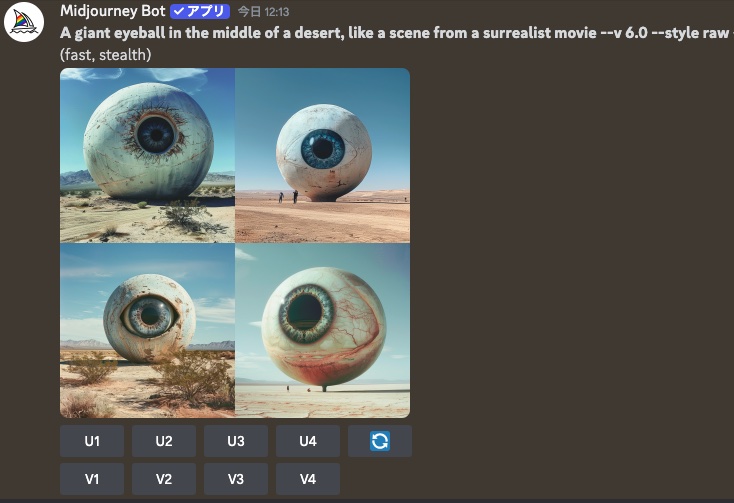
すると、Midjourneyが4つの画像を生成してくれます。
気に入った画像があれば、それをもとにさらに改良していくことも可能。
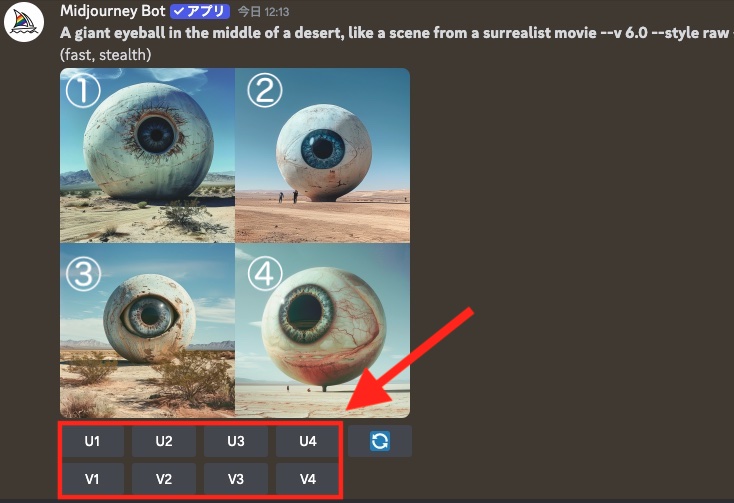
21. 画像の高画質化は、U1~U4ボタンをクリックします。
V1~V4ボタンでは画像のバリエーションを生成します。
番号は左上が1番目で右下が4番目になります。
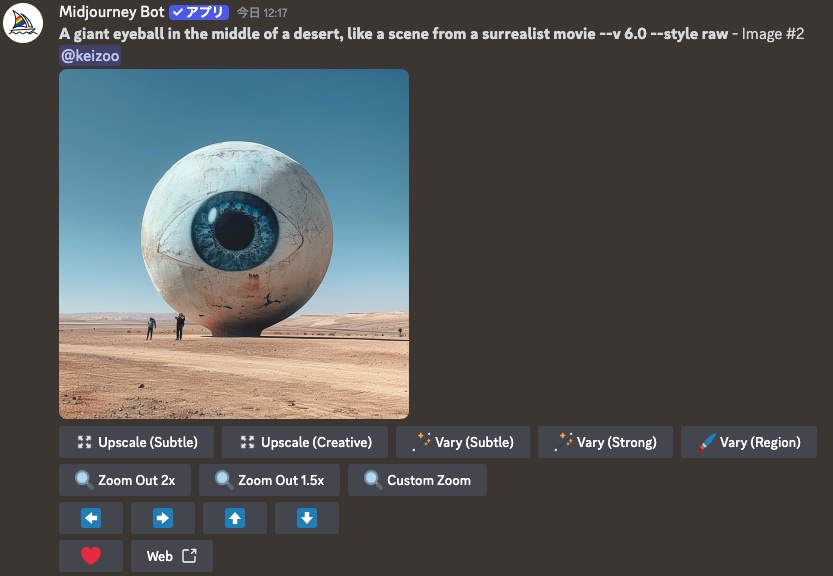
2番目の画像をアップスケールしてみました。
プロンプトの作り方にもコツがあります。映画のワンシーンを思い浮かべるように、ディテールにこだわって英語で書くのがポイント。
カメラアングルやレンズ、照明などを指定するのも効果的です。以下は具体的なプロンプトの例です。
A close-up shot of a mysterious woman in a dark alley, film noir style, shot with a 50mm lens, low-key lighting日本語訳:フィルムノワール風の、暗い路地にいる謎めいた女性のクローズアップショット。50mmレンズで撮影し、ローキーライティング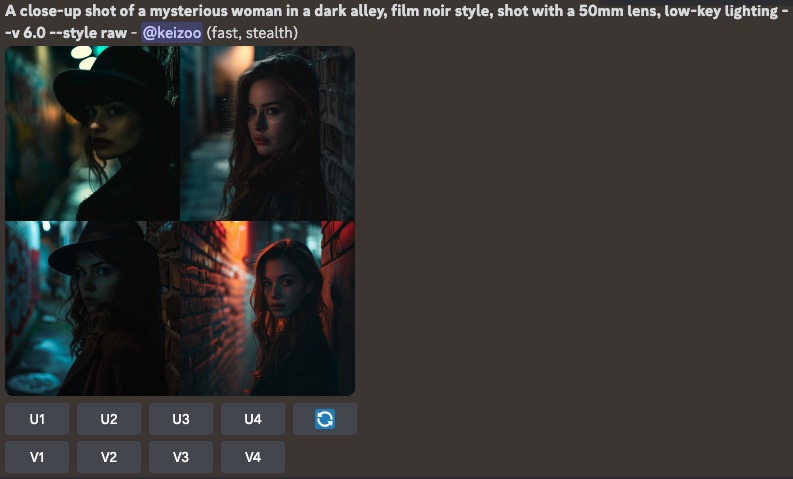
あとは想像力を働かせて、思い思いの映画のワンシーンを生み出すだけ。プロンプトを工夫しながら、理想の画像を追求していく過程は、まるで映画監督になった気分です。
Midjourneyでの画像生成の基本
Midjourneyを使って映画のワンシーンのような美しい画像を生成するテクニックについて解説していきます。
まず基本となるのが、プロンプトの書き方です。プロンプトとは、生成したい画像の内容を英語で記述したものです。
プロンプトの始まりは、「Film still of 〜」「Cinematic still of 〜」などとします。
状況を具体的・詳細に説明する
映画のワンシーンを思い浮かべるように、具体的かつ詳細に書くのがコツです。
Film still of a majestic castle on a hilltop, surrounded by mist, fantasy art style, highly detailed, octane render, cinematic lighting日本語訳:霧に包まれた丘の上に佇む荘厳な城、ファンタジーアートスタイル、高詳細、オクタンレンダー、映画的ライティング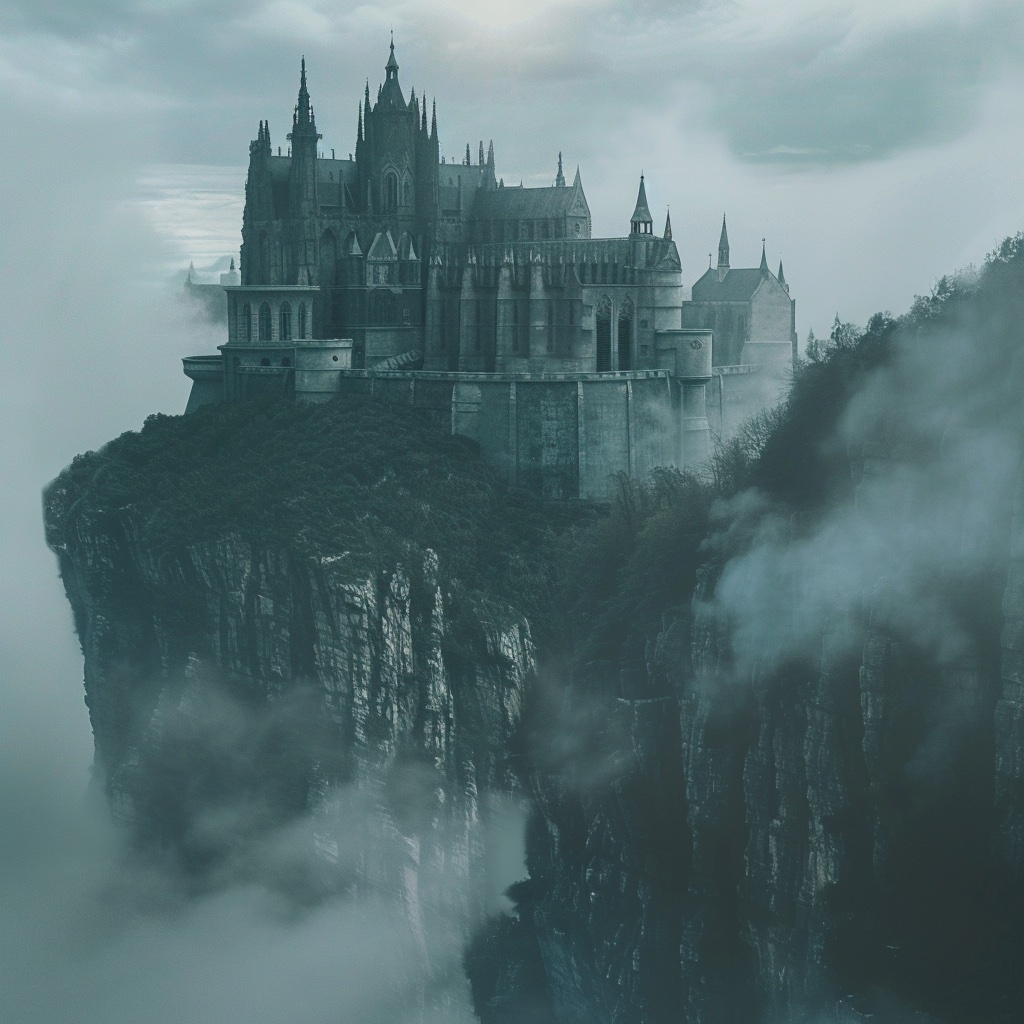
ポイントは、「fantasy art style」「highly detailed」「octane render」「cinematic lighting」といった、スタイルや質感、ライティングを指定する語句を追加することです。これにより、より映画的で美しい画像を生成できます。
アスペクト比を指定する
次に、アスペクト比の指定方法を覚えておきましょう。
映画のような横長の画像を生成するには、プロンプトの最後に「–ar 16:9」と追加します。縦長の画像なら「–ar 9:16」です。
Film still of a astronaut standing on a distant planet, looking at a binary sunset, sci-fi, highly detailed, trending on artstation --ar 16:9日本語訳:遠い惑星に立つ宇宙飛行士、二重の夕日を見つめる、SF、高詳細、アートステーションでトレンド中 --ar 16:9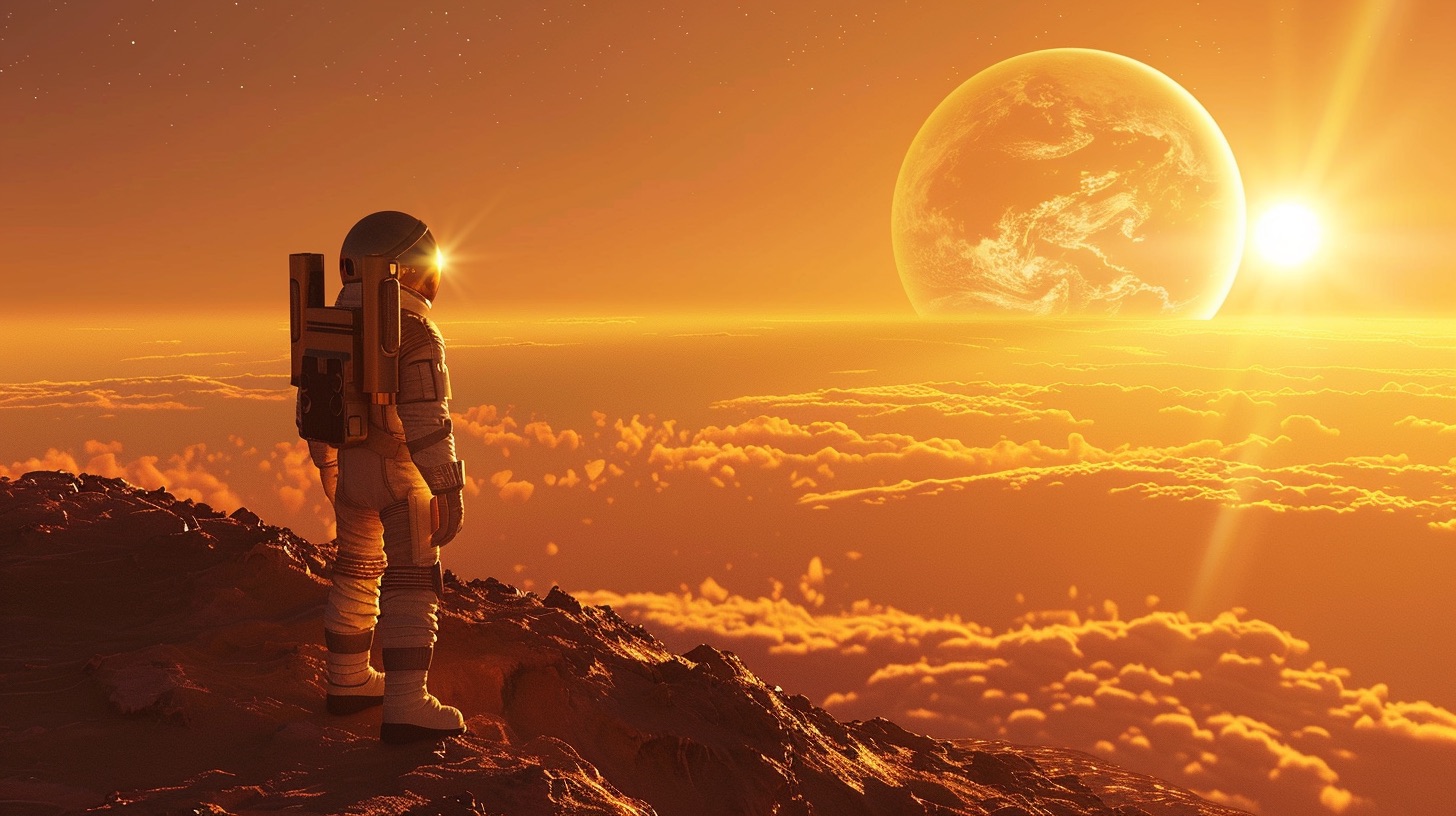
登場人物などの物語性を考える
プロンプトに動きや物語性を持たせるのも効果的です。
Film still of a knight fighting a dragon, epic fantasy art, highly detailed, octane render --ar 16:9日本語訳:ドラゴンと戦う騎士、壮大なファンタジーアート、高精細、オクタンレンダー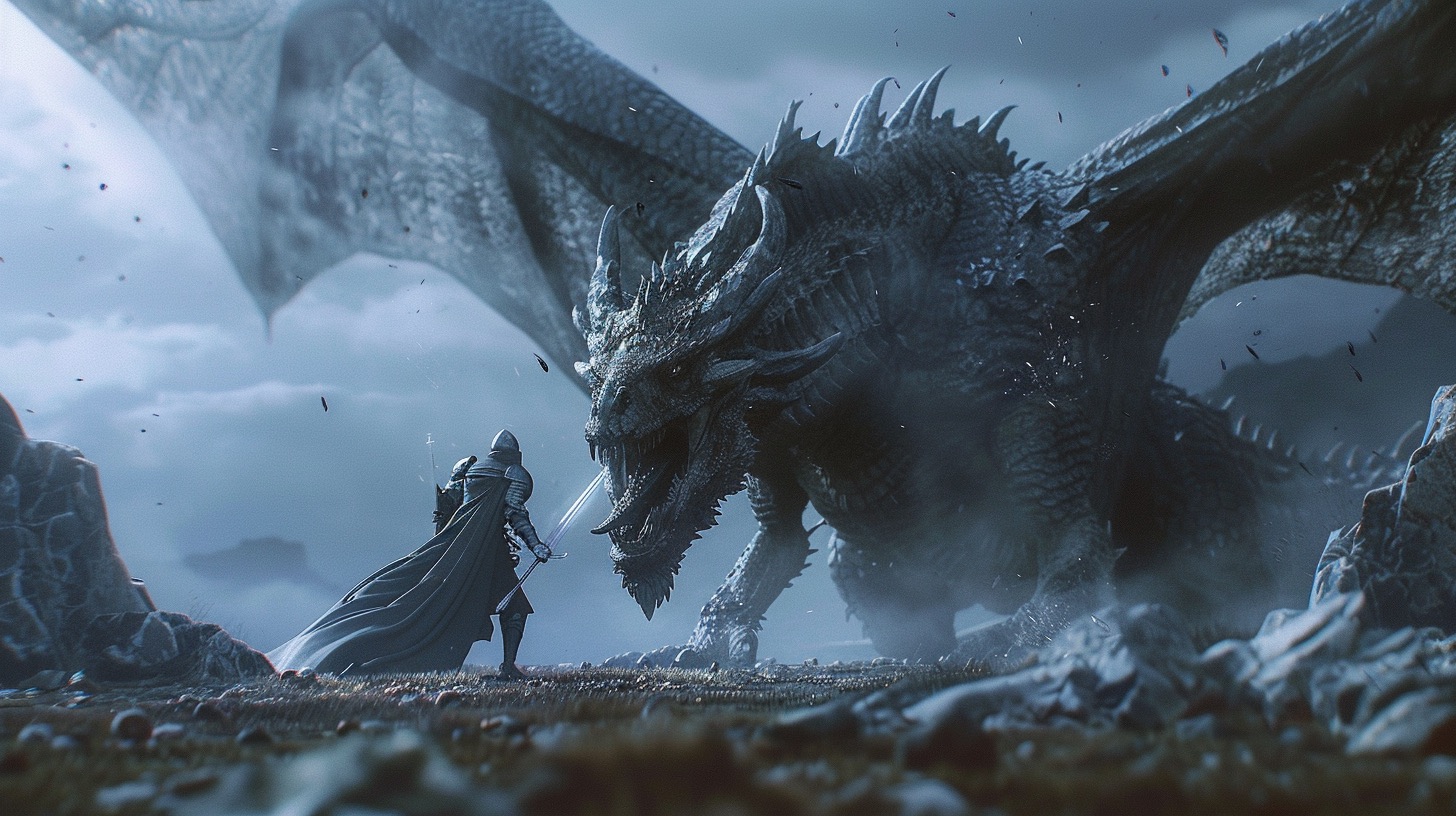
「a knight fighting a dragon」(ドラゴンと戦う騎士)といった具合に、アクションや状況を想像させる言葉も効果的です。
また、映画の一場面を思い浮かべるようにディテールにこだわることが大切です。登場人物の表情や衣装、背景の情景などを具体的に描写しましょう。
Cinematic still of a beautiful woman in a red dress standing on a balcony, looking out at the Eiffel Tower at night, Paris, France, romantic mood, cinematic lighting, highly detailed, 8k --ar 16:9日本語訳:赤いドレスを着た美しい女性が、夜のエッフェル塔を見つめながらバルコニーに立っている。パリ、フランス、ロマンチックな雰囲気、映画的ライティング、高詳細、8K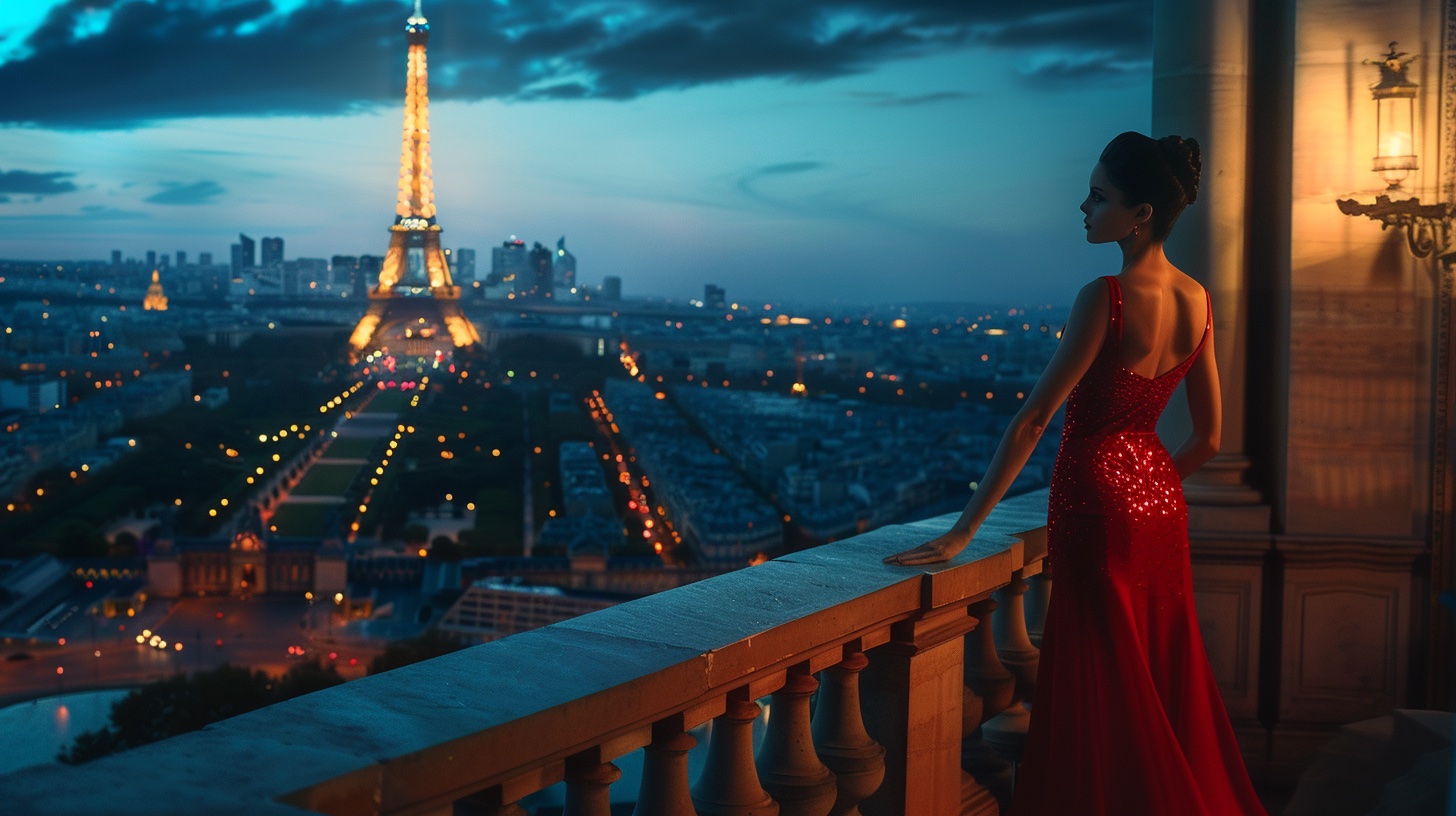
プロンプトに登場人物の心情を織り交ぜるのも効果的です。
Cinematic still of a man with a sad expression, sitting alone in a dimly lit bar, film noir style --ar 16:9日本語訳:薄暗いバーで一人座っている悲しげな表情の男性、フィルム・ノワール風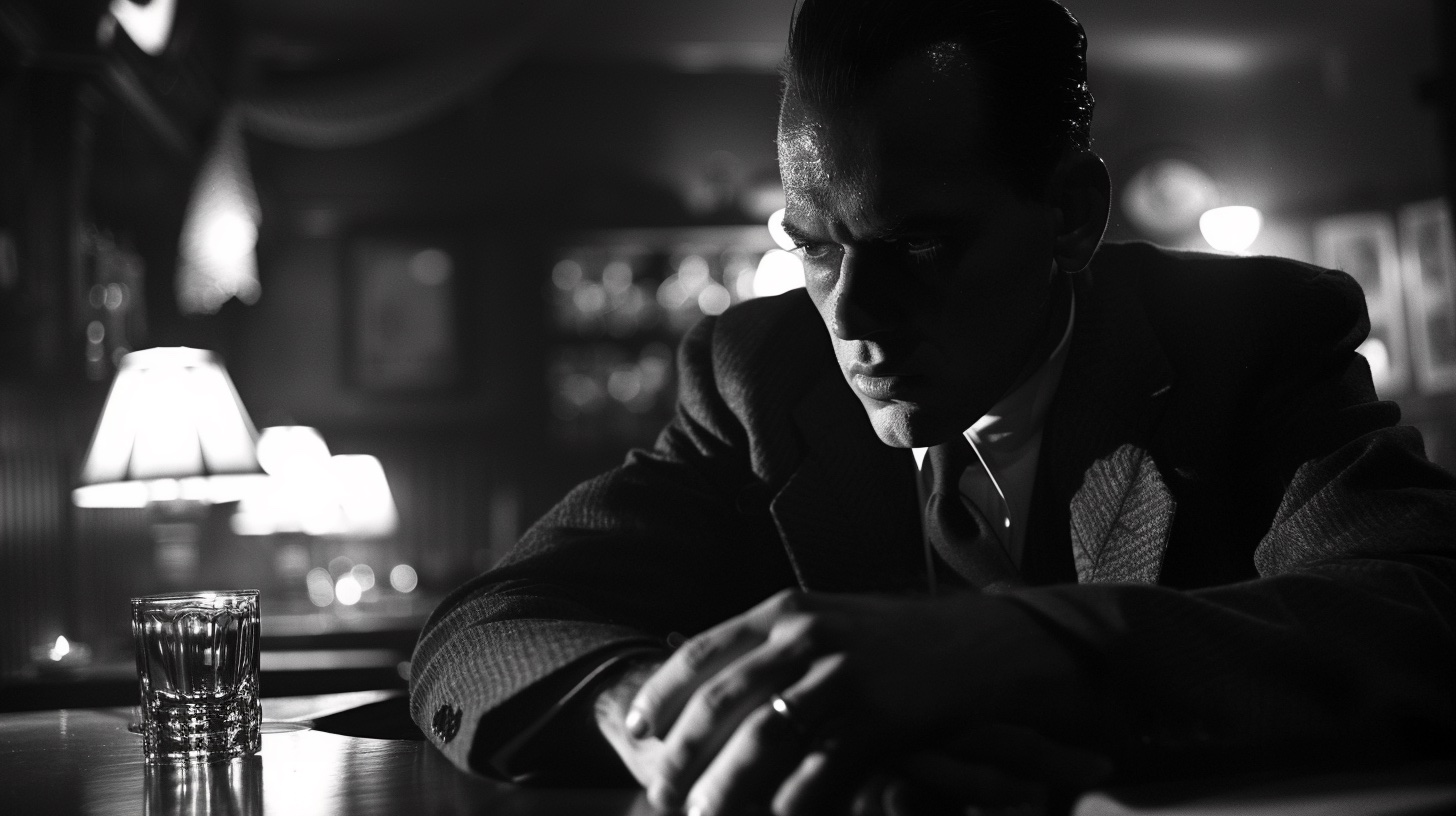
「a man with a sad expression」(悲しげな表情の男性)といった具合に、感情を表す言葉を加えることで、よりドラマチックな画像を生成できます。
映画のジャンルを指定する
プロンプトには映画のジャンルを指定するのも良いでしょう。「sci-fi」「fantasy」「horror」「film noir」など、ジャンルを示すキーワードを入れることで、そのジャンルらしい雰囲気の画像を生成できます。
Cinematic still of sci-fi movie, a cute Japanese woman flying on jet board, wearing a red battle suits, over New York City, ultra detailed --ar 16:9日本語訳:SF映画、キュートな日本女性が赤いバトルスーツを着てジェットボードで飛ぶ、ニューヨーク上空、超精細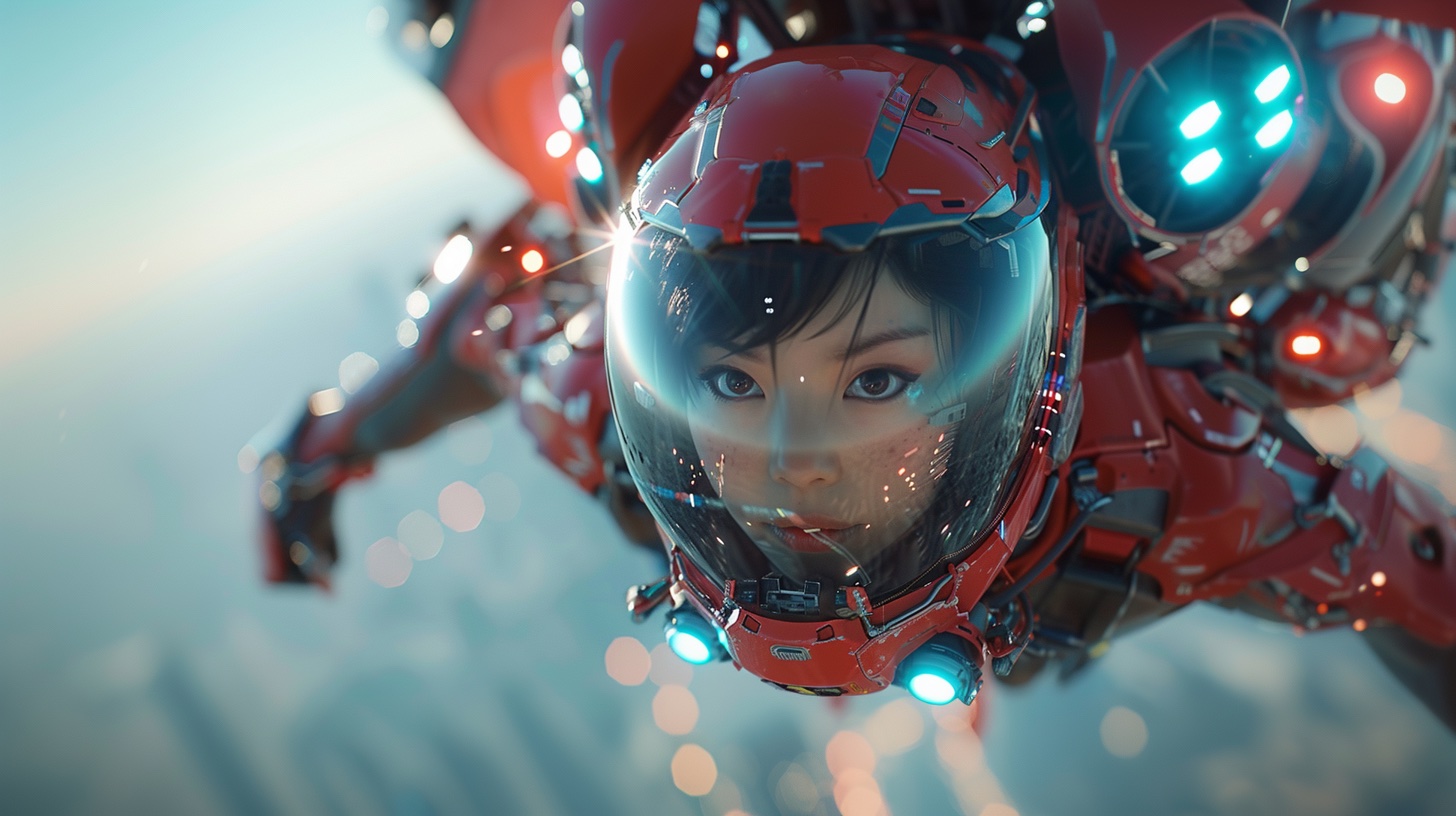
クリエイティブで創造性の高い画像を作るためには、Midjourneyのコミュニティを活用することも有効です。
Midjourney公式サイトのギャラリーには、ユーザーが生成した素晴らしい画像が多数掲載されています。
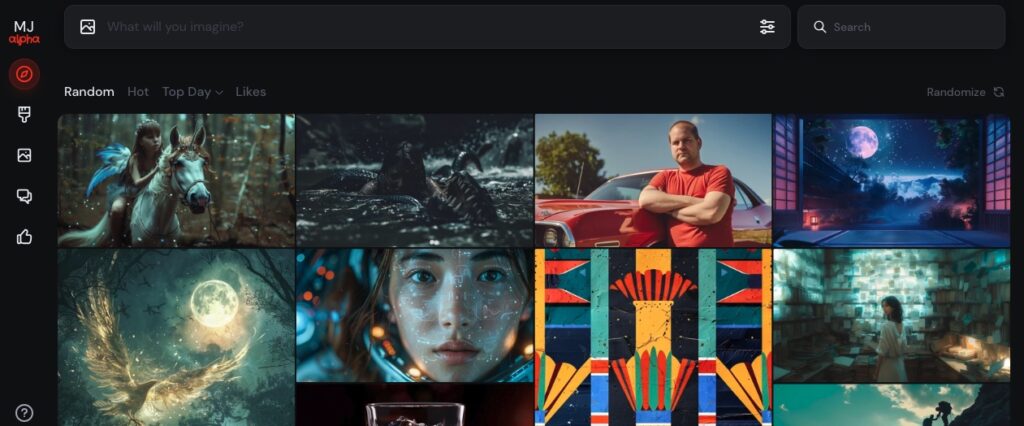
気に入った画像を見つけたら、プロンプトを参考にしてみましょう。また、自分の画像を投稿して、他のユーザーからフィードバックをもらうのも励みになります。
Midjourneyでは、プロンプトの工夫次第で映画のワンシーンのような美しい画像を生成できます。今日紹介したテクニックを活用して、あなただけの映画の世界を創造してみてください。
次回はいよいよ動画の生成をします!


コメント
コメント一覧 (7件)
[…] あわせて読みたい 【AI映画制作講座】3. Midjourneyによる画像生成:基本編 【Midjourneyの概要と特徴】 今回は、 AI映画制作に欠かすことのできない、画像生成AIについて説明していきま […]
[…] 【AI映画制作講座】第3回: Midjourneyによる画像生成:基本編 2024年7月23日 […]
[…] 【AI映画制作講座】第3回: Midjourneyによる画像生成:基本編 […]
[…] 【AI映画制作講座】第3回: Midjourneyによる画像生成:基本編 2024年7月23日 […]
[…] 【AI映画制作講座】第3回: Midjourneyによる画像生成:基本編 […]
[…] 【AI映画制作講座】第3回: Midjourneyによる画像生成:基本編 2024年7月23日 […]
[…] 【AI映画制作講座】第3回: Midjourneyによる画像生成:基本編 2024年7月23日 […]