
最近、Google ColabでのStable Diffusionの動きが何かおかしい、と感じていました。
AUTOMATIC1111氏がこのように述べています。

2023-09-09現在、Googleは、有料ユーザーであるかどうかに関わらず、全てのユーザーのサーバーサイドでのStable Diffusion(ウェブUIだけでなく)のあらゆる形態でのColabの使用を意図的に制限しているようです。Colabの利用が完全に禁止される可能性があるため、注意して利用してください。
https://github.com/AUTOMATIC1111/stable-diffusion-webui/wiki/Online-Services
どうやら、WebUIの利用を制限しているらしい。課金しているのに制限がかかるとはこれいかに!
というわけで、違う方法を探すことにしました。すると、Paperspaceなるものがあるとのこと。Google Colabと同じように使えるとのことで、試してみることにしました。
色々と調べてみると、以下のようなことが分かりました。
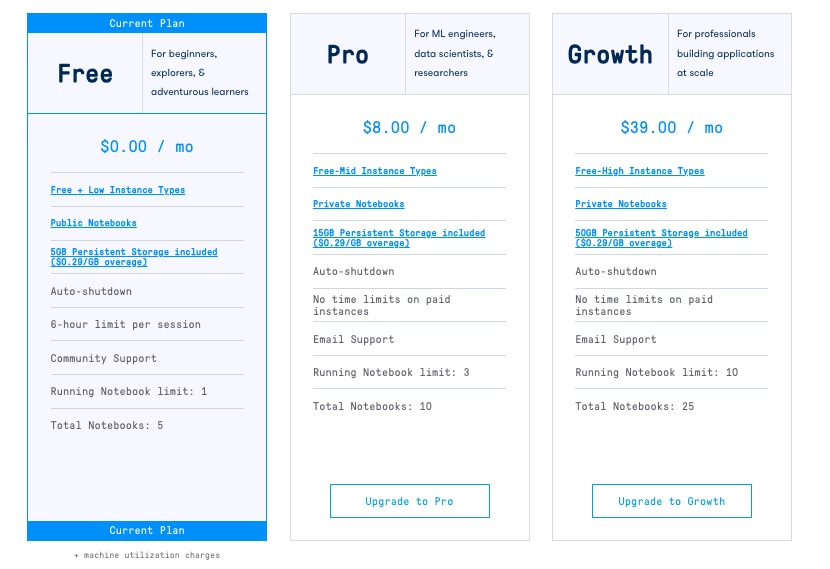
- 無料プランでは使い物にならないので、課金が必須(月額8ドルのProと月額39ドルのGrowthプラン)
- 使えるストレージが少ない(Proプランでも15GB)なので、多くのモデルを保存しておけない
- GPU利用の順番待ちがあり、いつでも使いたいGPUが空いているわけではない
Paperspace利用開始までの手順
Paperspaceにアカウント登録
Paperspaceにアクセスします。
Paperspaceには紹介制度があります。新規登録者に10ドル分、紹介者に15ドル分のクレジットのキャッシュバックがあります。よろしければご利用いただければと。
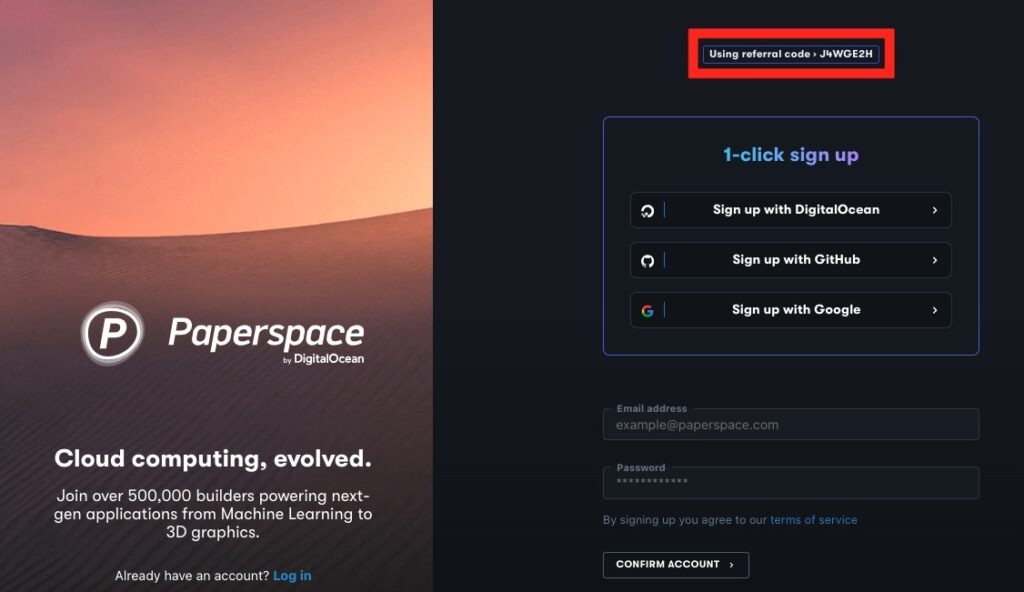
上記に紹介コードが表示されていれば、紹介キャンペーン対象となっています。
DigitalOcean、Google、GitHub、メールアドレスのいずれかで登録を行います。
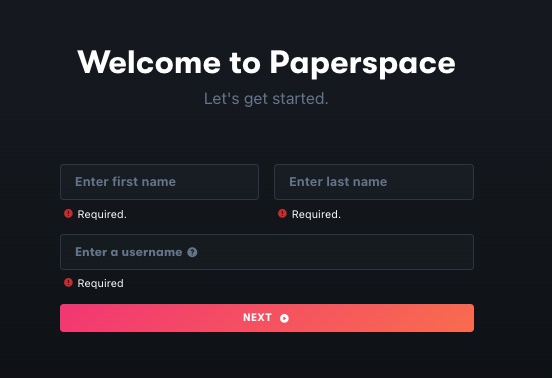
名前等を登録して、「NEXT」をクリックします。
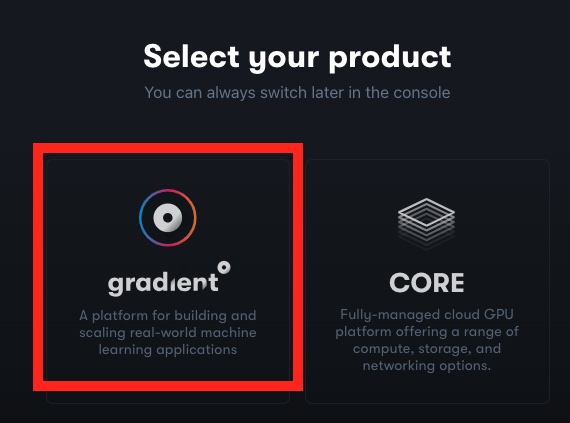
Gradientを選択します。
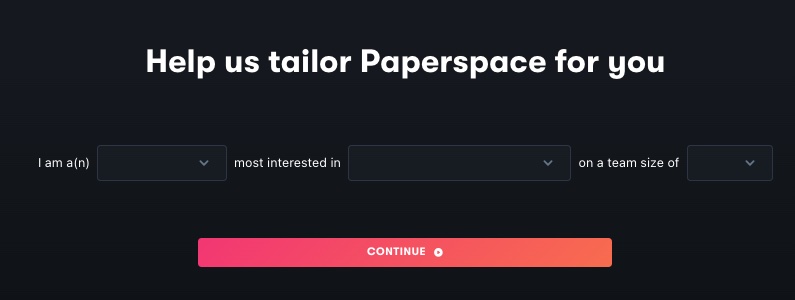
「職業」「興味」「組織」などを適当に選択して「CONTINUE」をクリックします。
project名を適当に入力(デフォルトで入っているものでOK)して、「CREATE PROJECT」をクリックします。

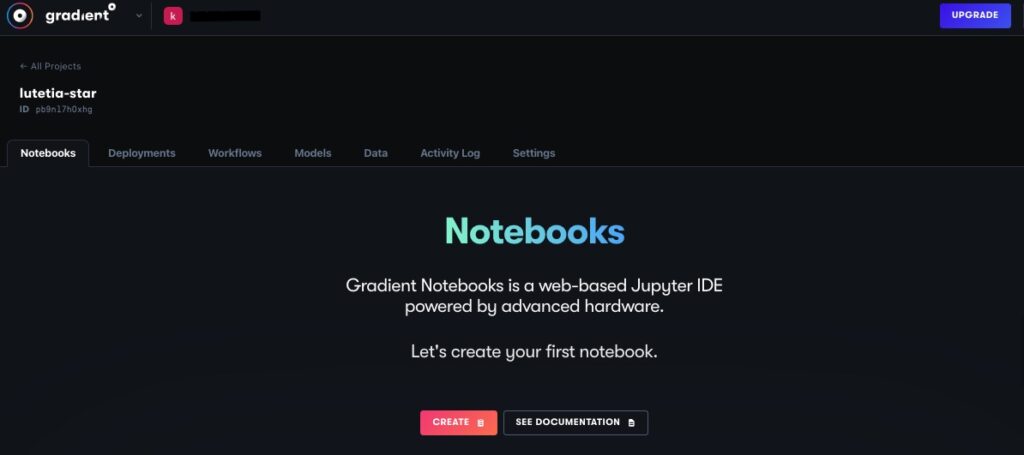
「Notebooks」を選択します。

このような画面になれば完了です。
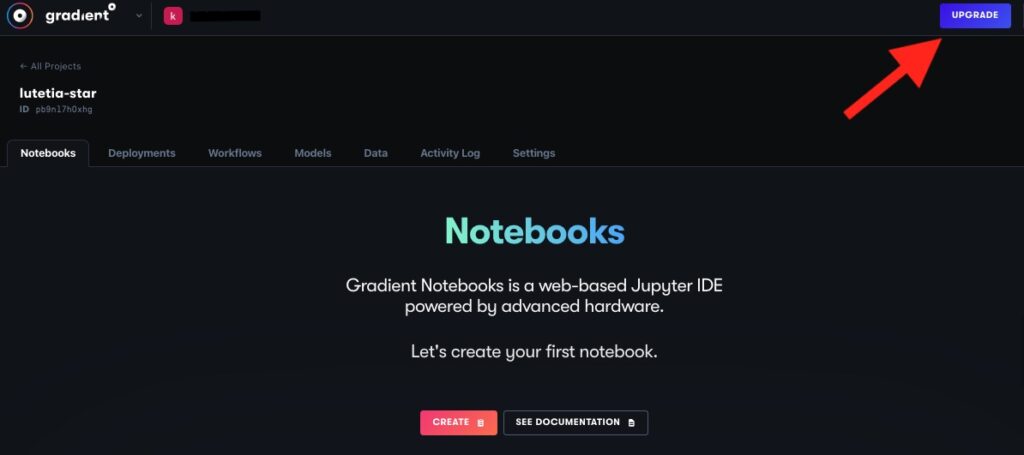
無料プランからアップグレードする場合は、右上のボタンをクリックします。
ここでは「Pro」プランを選択して、クレジットカード情報などの入力に進みます。
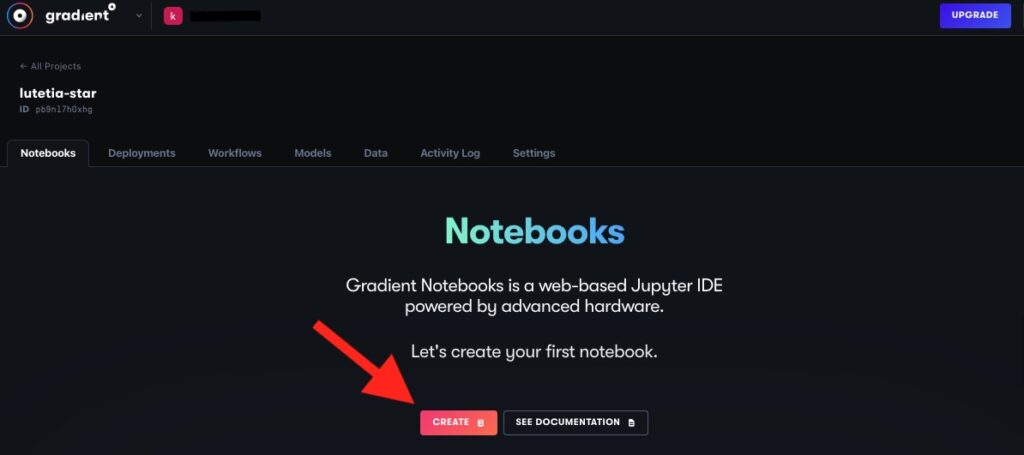
ノートブックの作成
元の画面に戻って「CREATE」をクリックします。
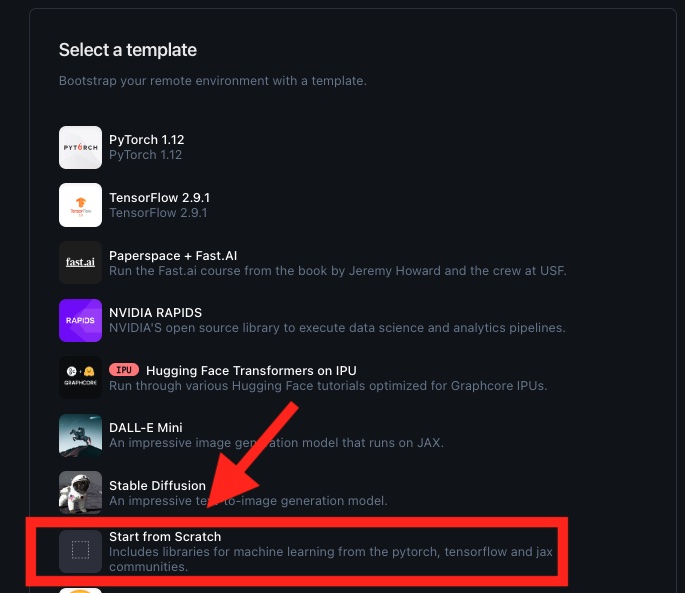
次にテンプレートの選択をします。「Start From Scratch」を選択します。
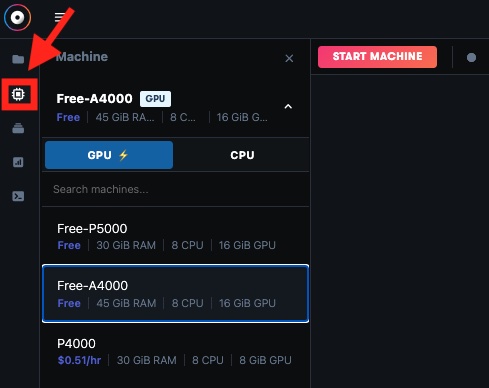
次にGPUの選択をします。「Free-****」を選択します。
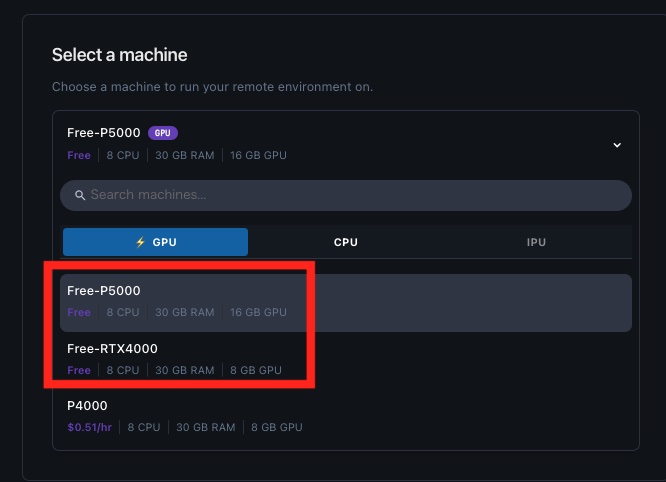
Freeと書いていないGPUを選択すると追加で従量課金となってしまうので注意してください。
ProプランではFree-A4000というマシンが高いスペックで狙い目。ストレスなく画像生成できます。
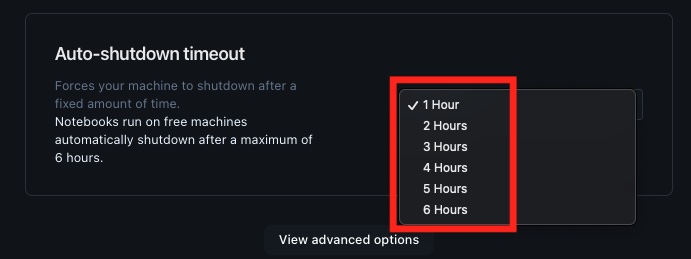
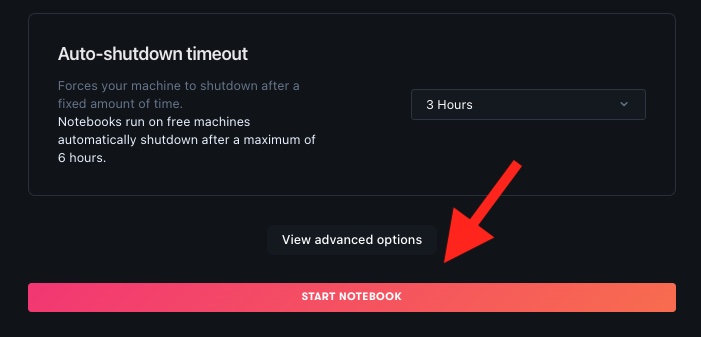
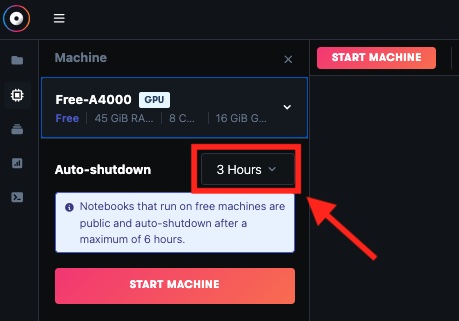
次にタイムアウトまでの時間の選択をします。ここでは「3 Hours」を選択しました。
「View advanced options」はそのままで「START NOTEBOOK」をクリックします。
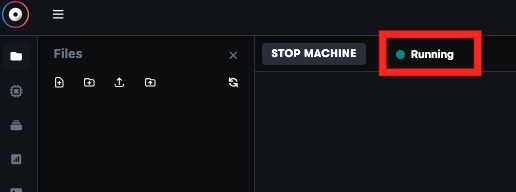
初回の起動時には結構な時間がかかります。画面上部に「running」が出れば起動の完了です。
WebUI用のノートブックの実行
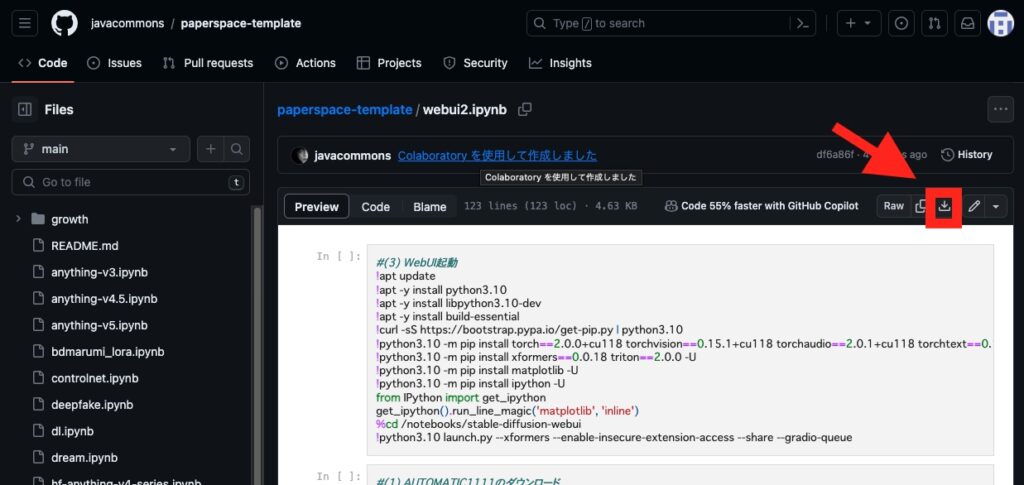
GitHubのjavacommonsにアクセスします。
右上のダウンロードボタンをクリックしてファイルをダウンロードします。
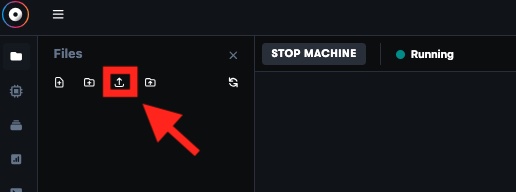
Paperspaceの画面に戻って、左上のアップロードボタンをクリックして、先ほどダウンロードしたファイルをアップします。
完了したら、ファイルをダブルクリックして開きます。

ノートブックには4つのセルがあります。セルに書かれている番号順に実行していきます。
一番上のセルは3番目に実行しますので、間違えないようにしてください。
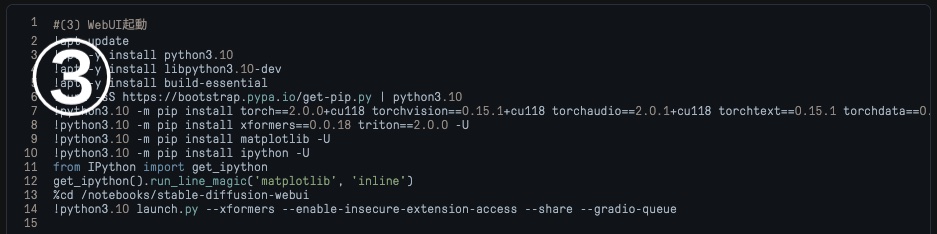


①:[1]AUTOMATIC1111のダウンロードの実行

②:[2]モデルのダウンロードの実行

プログラムではデフォルトで4つのモデルをダウンロードするようになっています。
- BlueberryMix-1.0.safetensors:1.99 GB
- chilled_remix_v1vae.safetensors:3.95 GB
- chilled_remix_v2.safetensors:1.99 GB
- Chilloutmix-Ni-pruned-fp32-fix.safetensors:3.97 GB
しかしPaperspaceの容量はProでも15GBなので、全てをダウンロードするとそれだけで身動きがとれなくなってしまいます。必要なモデルを一つだけ選択するようにしてください。
選択しないモデルはその行を選択して「Ctrl+/」というショートカットキーでコメントアウトとしてください。
行頭に#が追加され、その行は実行されません。
モデルの選択後に、[1]と同じように[2]も実行します。
もし、ほかのモデルをダウンロードしたい場合は、「!wget -nc」から始まる行を修正してみてください。
以下は「beautifulRealistic_v7」をダウンロードする例です。
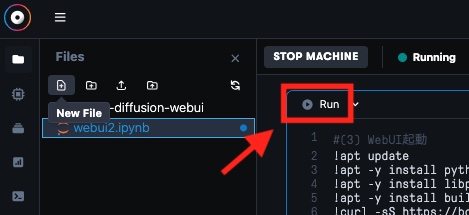
!wget -nc https://civitai.com/api/download/models/177164 -O beautifulRealistic_v7.safetensors③:[3]WebUI起動の実行
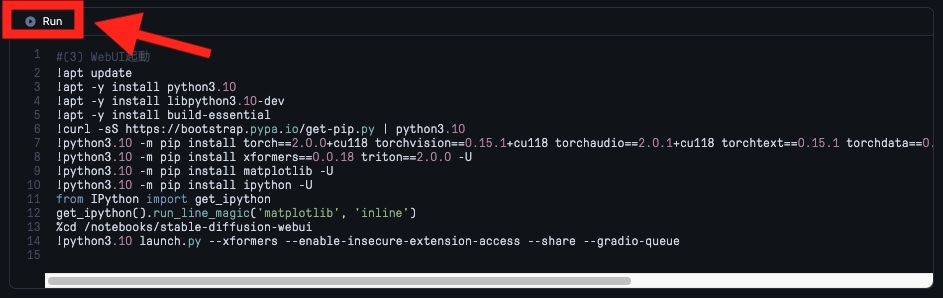
「Running on public URL〜」から始まる行が出てきたら起動完了です。URLをクリックして画面を立ち上げます。

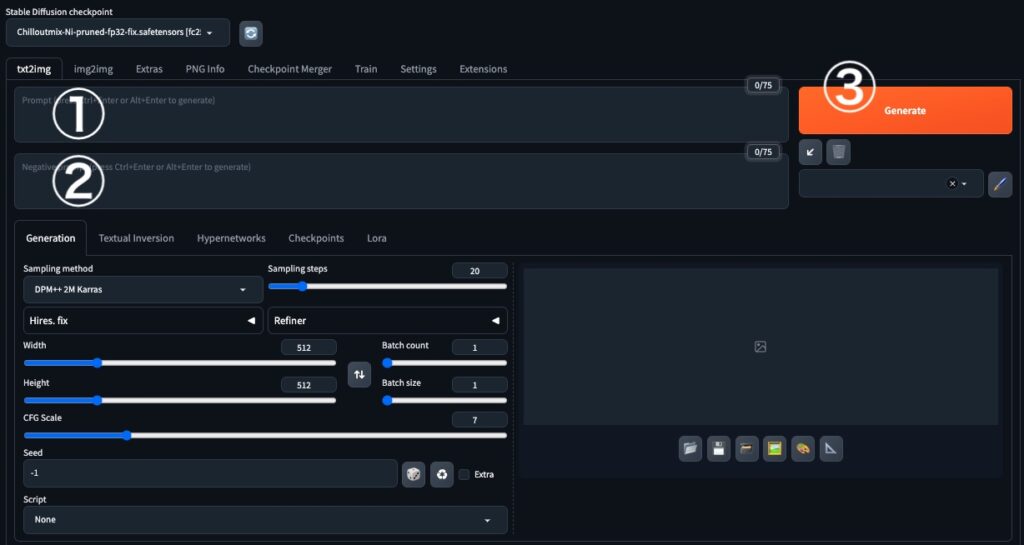
WebUIが立ち上がりました。
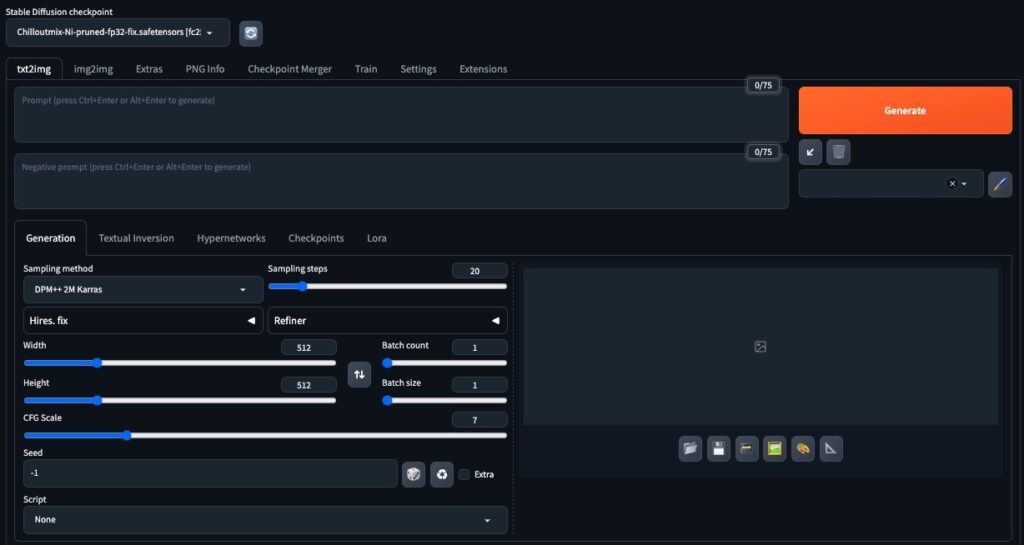
WebUIの基本的な使い方は、①に生成したい画像のプロンプトを入力し、②にネガティブプロンプトを入力し、③Generateボタンをクリックする、という流れです。
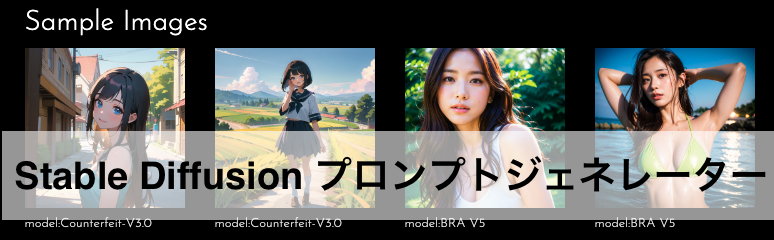
どのようなプロンプトを入力したらいいか見当がつかない場合は、プロンプトジェネレーターを使ってみてください。
項目を選択するだけで簡単にプロンプトを作ることができます。
生成された画像の保存場所
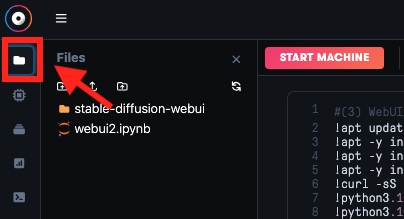
フォルダのアイコンをクリックします。
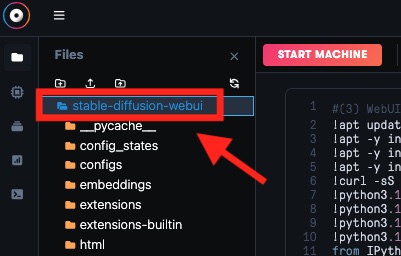
「stable-diffusion-webui」フォルダを開きます。
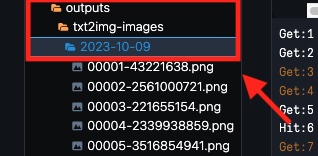
「outputs」→「txt2img-images」→「日付(2023-**-**など)」と進むと生成された画像が保存されています。
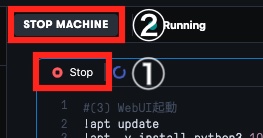
Paperspaceを停止する方法
①、②の順序でクリックして、マシンを停止させます。
2回目以降にWebUIを起動する方法
プロジェクトを開いて、マシンのアイコンをクリックし、GPUの選択をします。
時間を選択します。
「webui2」ファイルをダブルクリックで開きます。
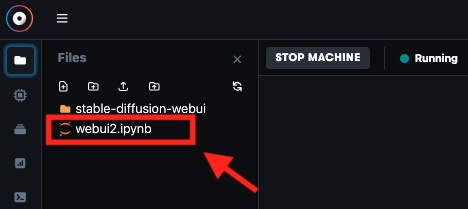
[3]WebUI起動の実行のみを行います。


コメント